Time, data,
at a glance.
A compact firmware for a smart desk clock that connects to Wi-Fi, automatically syncs the time, and displays the time, date, temperature, and atmospheric pressure, all in a single firmware.
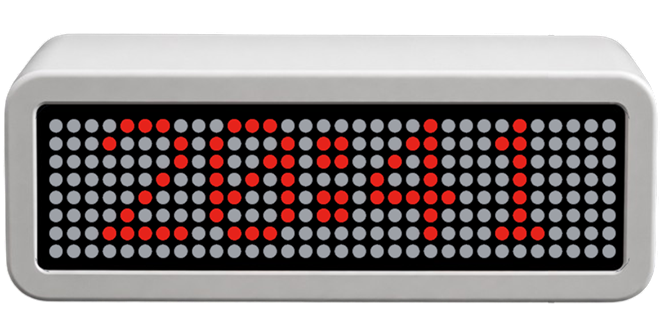
A compact firmware for a smart desk clock that connects to Wi-Fi, automatically syncs the time, and displays the time, date, temperature, and atmospheric pressure, all in a single firmware.
Octoglow Connect is an app that makes your PC talk to your Octoglow device, sending data over the internet straight to your clock.
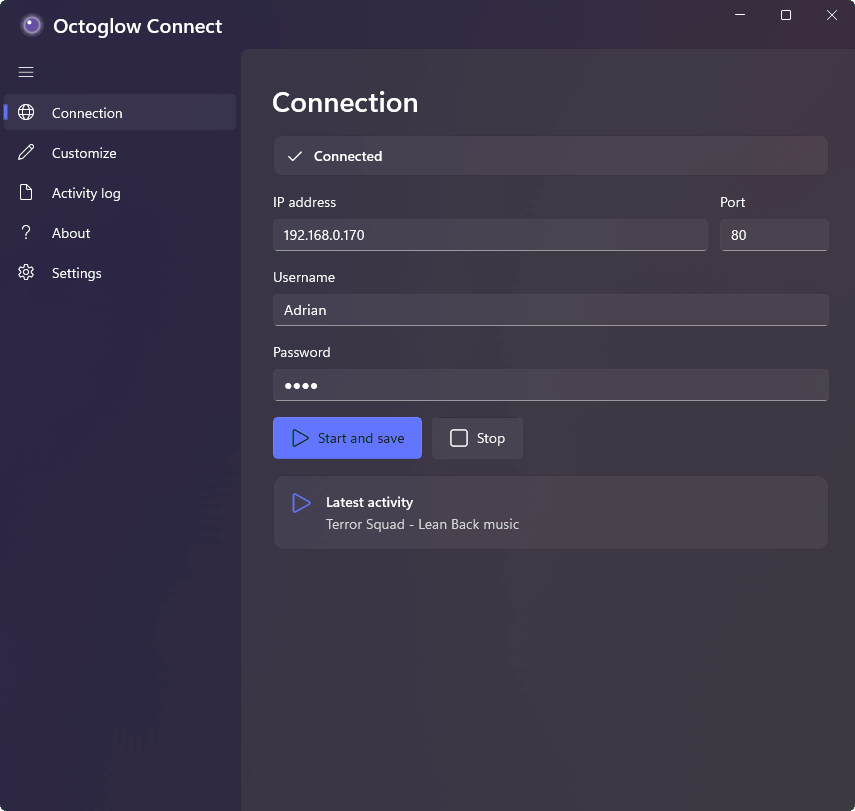
Follow the step-by-step guide to flash the firmware, connect the device to Wi-Fi, and set it up from the built-in web interface.
You can skip the battery circuit if you don't want to build yours with a battery.
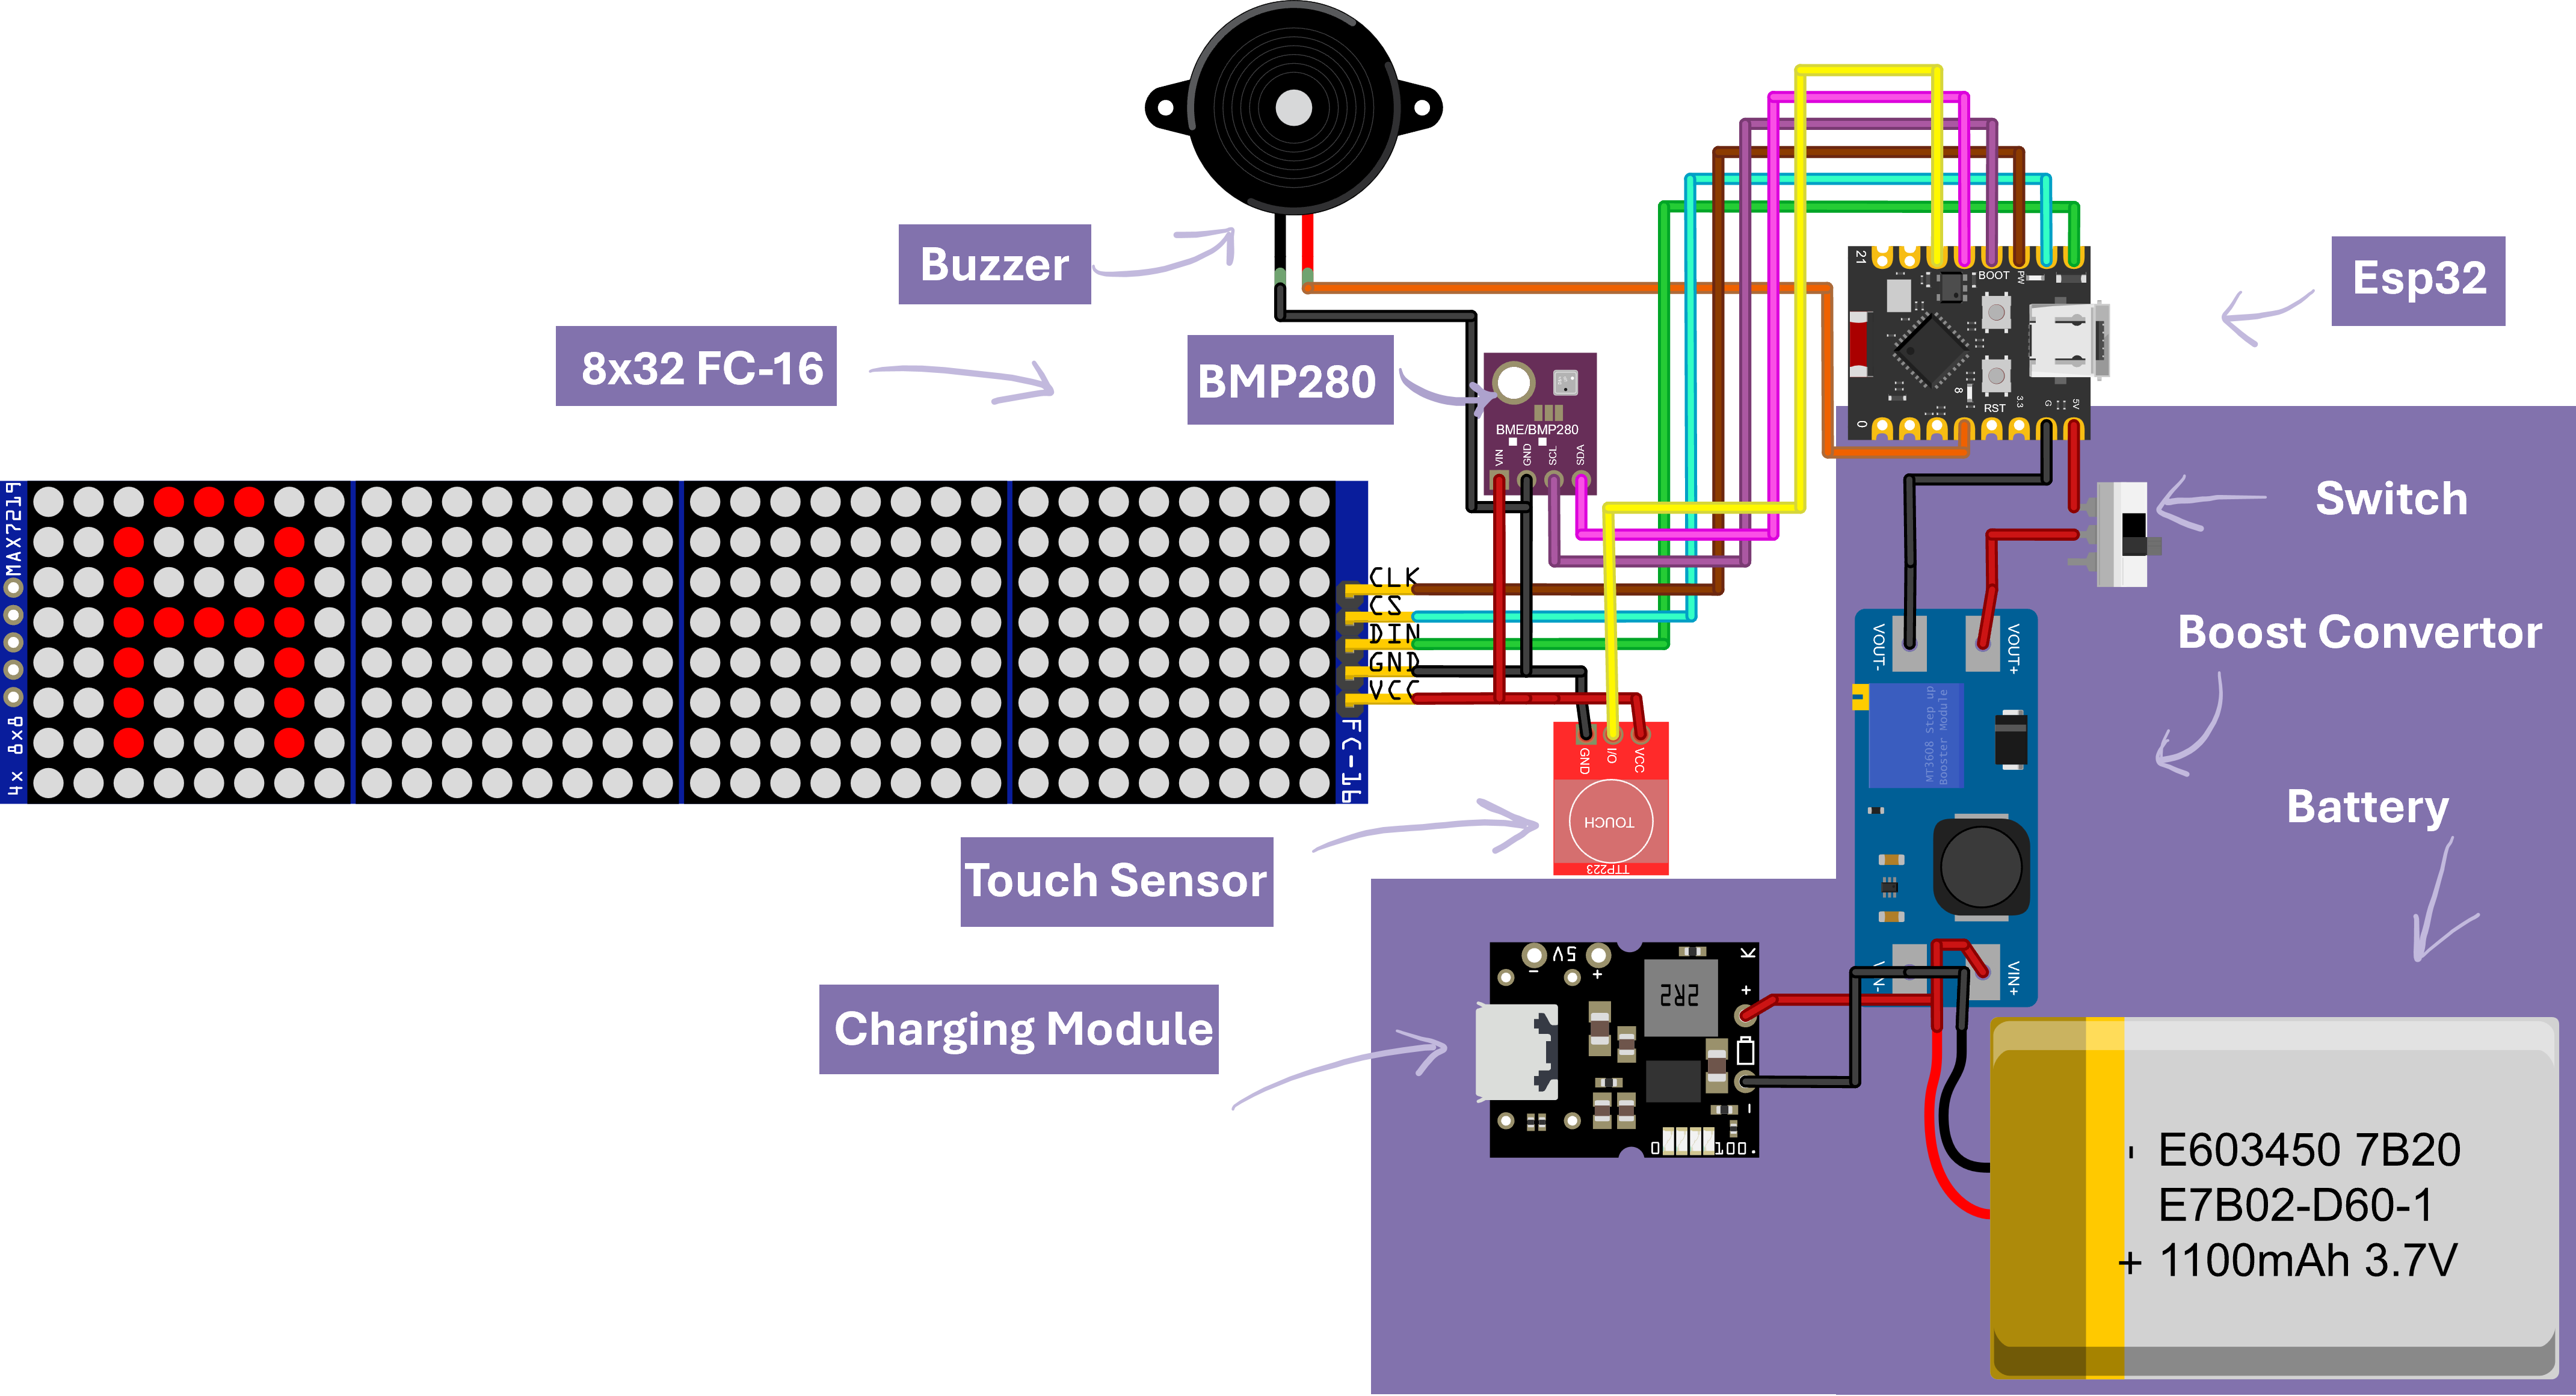
| Component | GPIO |
|---|---|
| MAX7219 DIN | GPIO1 |
| MAX7219 CLK | GPIO3 |
| MAX7219 CS | GPIO2 |
| BMP280 SDA | GPIO5 |
| BMP280 SCL | GPIO4 |
| Touch I/O | GPIO6 |
| Buzzer | GPIO12 |
Octoglow.ino in the Arduino IDE (Click here to get the firmware).MD_ParolaMD_MAX72xxAdafruit_BMP280ArduinoJsonWiFi, SPI, Wire, WebServer, Preferences, HTTPClient, Update, StreamString and mbedtls are already bundled with the ESP32 core.192.168.4.1 in your browser to set up its connection to your home network.